Can I Jump an RV Battery with My Car – Key Facts You Need!
Common mistakes when jump-starting an RV battery include incorrect cable connections, such as not connecting the positive terminals first or allowing clamps to touch, which can cause a short circuit.
It’s also crucial to double-check that both batteries are compatible in terms of voltage and amperage to avoid electrical damage. After successfully jump-starting, disconnect the cables carefully, following the reverse order of connection, and run the RV for at least 30 minutes to recharge the battery.
Understanding RV and Car Battery Differences:
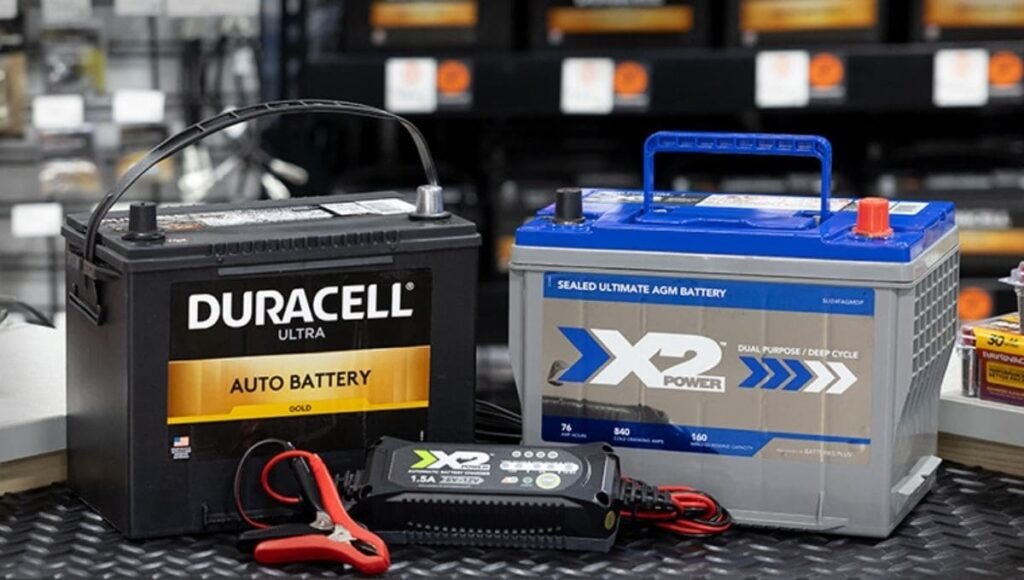
Jump-starting an RV battery with a car begins with understanding the fundamental differences between the two types of batteries. Although both serve the same basic function, their designs and intended uses are quite different.
Key Differences Between RV and Car Batteries:
The primary distinction between RV and car batteries is their purpose. Car batteries are designed as “starter” batteries, providing a quick, powerful burst of energy to start the engine. Once the car is running, the alternator takes over, maintaining the electrical system.
Conversely, RV batteries are often deep-cycle batteries, built to provide a steady stream of power over an extended period to run lights, appliances, and other systems when the RV is parked.
Car batteries generally have a higher cold-cranking amperage (CCA), making them ideal for short bursts of energy, while RV batteries have a higher capacity (amp-hours), enabling them to power multiple devices for a long duration.
Why RV Batteries May Drain Faster:
RVs demand more from their batteries. They power multiple systems like lighting, refrigerators, and entertainment units, all of which can drain the battery rapidly, especially when the RV isn’t plugged into an external power source.
In contrast, a car’s battery only handles ignition and minor electrical functions when the engine is off, leading to a slower rate of depletion.
Voltage and Amperage Considerations:
RV and car batteries both typically operate at 12 volts, which makes jumping the RV battery with a car technically feasible. However, the amperage is where the difference lies. RV batteries are built to handle sustained loads, while car batteries are designed to discharge a large amount of current quickly.
These differing needs can create complications when you try to cross-serve the batteries. Always ensure you understand the voltage and amperage of both vehicles before proceeding.
read also: What to Do When Your Car Battery Gets Too Hot – Causes and Solutions!
Is It Safe to Jump an RV Battery with a Car?
While it’s possible to jump an RV battery with a car, safety should be your top priority. The electrical systems in both vehicles are sensitive, and a misstep can result in costly damage.
Safety Concerns and Risks to Be Aware Of:
One of the primary concerns when jumping an RV battery with a car is the risk of overloading the car’s electrical system. RV batteries are significantly larger and may require more power than a car’s battery can comfortably provide.
If the car’s battery is already weak, attempting to jump the RV could push it to the brink, potentially damaging the alternator or other electrical components.
Additionally, connecting batteries incorrectly can result in sparks, fires, or even explosions. Mishandling the cables can short out both systems or, in severe cases, lead to electrical fires.
How to Protect Both Your Car and RV During a Jump:
To avoid damage, ensure both batteries are in good condition before attempting the jump. Turn off all non-essential electrical systems in both vehicles to reduce the load.
Use high-quality jumper cables, preferably ones rated for heavy-duty use. This will help avoid any overheating or excessive strain during the jump
.
Proper Precautions to Minimize Damage:
It’s crucial to follow a specific set of steps to prevent mishaps. Make sure the jumper cables are properly connected, and avoid cranking the RV engine for too long to reduce the strain on the car battery. Ideally, give the car time to rest between attempts if the RV doesn’t start immediately.
Step-by-Step Guide to Jumping an RV Battery with a Car:
If you’re ready to proceed, here’s a detailed guide to jump-starting an RV battery with your car.
Gathering the Right Tools for the Job:
The first step is having the right tools. You’ll need jumper cables that are long enough to connect the car and the RV, especially if the battery compartments are positioned far apart. Ideally, use 4- or 6-gauge cables, as thinner cables might not handle the power transfer efficiently.
A pair of gloves and safety glasses can also help protect against accidental sparks or battery acid exposure.
Correctly Positioning Your Vehicles:
Once you have your tools, position the car and the RV close enough so that the jumper cables can easily reach both batteries, but not so close that the vehicles are touching. Ensure both vehicles are in park or neutral, with the parking brake engaged to prevent any movement during the jump
.
Connecting the Jumper Cables the Right Way:
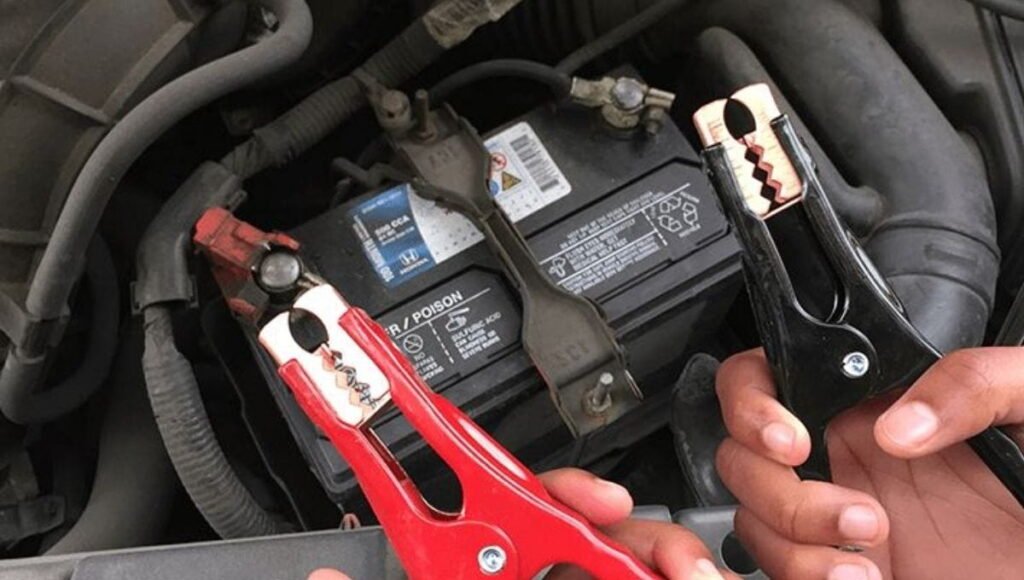
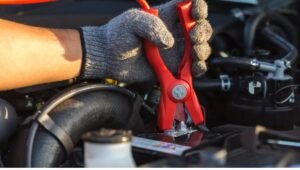
Begin by connecting the red (positive) cable to the positive terminal of the RV battery. Then, attach the other end of the red cable to the positive terminal of the car battery. Next, attach the black (negative) cable to the negative terminal of the car battery.
Finally, connect the other end of the black cable to an unpainted metal surface on the RV, away from the battery. This reduces the risk of sparks near the battery.
Starting the Car and RV: How to Do It Safely
Start the car first and let it run for a few minutes. This will allow the car’s battery to transfer some charge to the RV’s battery. After a few minutes, attempt to start the RV.
If it doesn’t start immediately, give it more time to charge and try again, but avoid cranking the engine for more than a few seconds at a time to prevent overheating.
Common Pitfalls to Avoid While Jump-Starting:
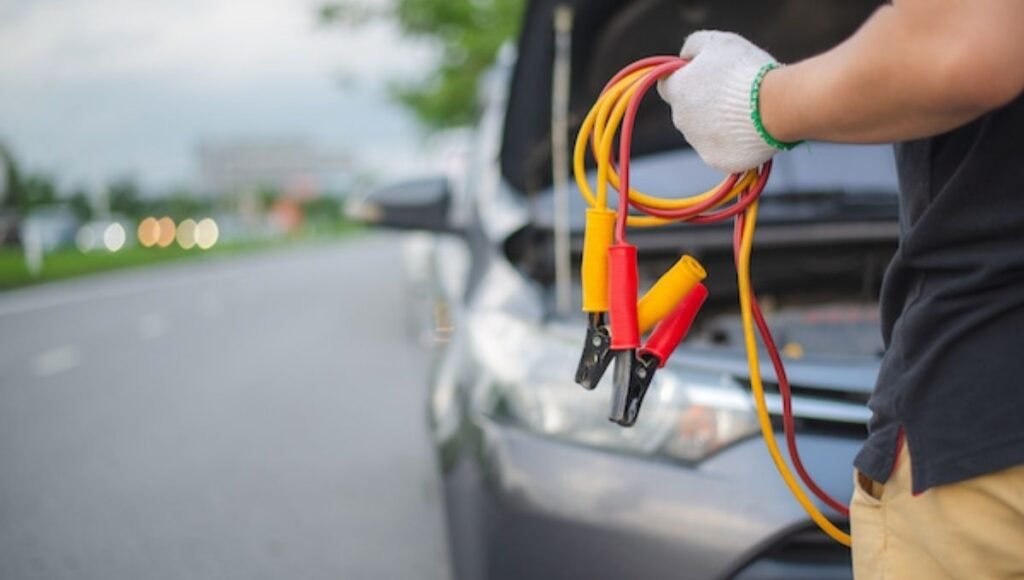
Jump-starting is relatively straightforward, but a few mistakes can turn a simple task into a costly repair.
Avoiding Cable Connection Errors:
One of the most common mistakes is incorrectly attaching the cables. Always connect the positive terminals first, and never let the clamps touch each other while they’re attached to the battery. This may make a perilous brief circuit.
Double-Checking Voltage and Compatibility:
It’s vital to ensure that both your car and RV batteries are compatible. Double-check the voltage and amperage ratings before attempting a jump to avoid damage to the electrical systems.
How to Safely Disconnect the Jumper Cables:
After the RV starts, allow it to run for a few minutes before disconnecting the cables. Remove the cables in the reverse order they were connected: negative cable from the RV, then the car, followed by the positive cables. Always handle the cables carefully to avoid sparks.
read also: How to Identify Battery-Related Issues in Older Vehicles – Common Mistakes!
What to Do After Jump-Starting Your RV Battery:
Jump-starting may get your RV moving, but additional steps are required to ensure your battery remains functional.
How Long Should You Let Your RV Run After the Jump?
Let the RV run for at least 30 minutes to allow the alternator to recharge the battery. If you can, drive the RV for a longer distance to give it time to fully recharge. Idling alone may not provide enough charge.
Testing the Battery’s Health Post-Jump:
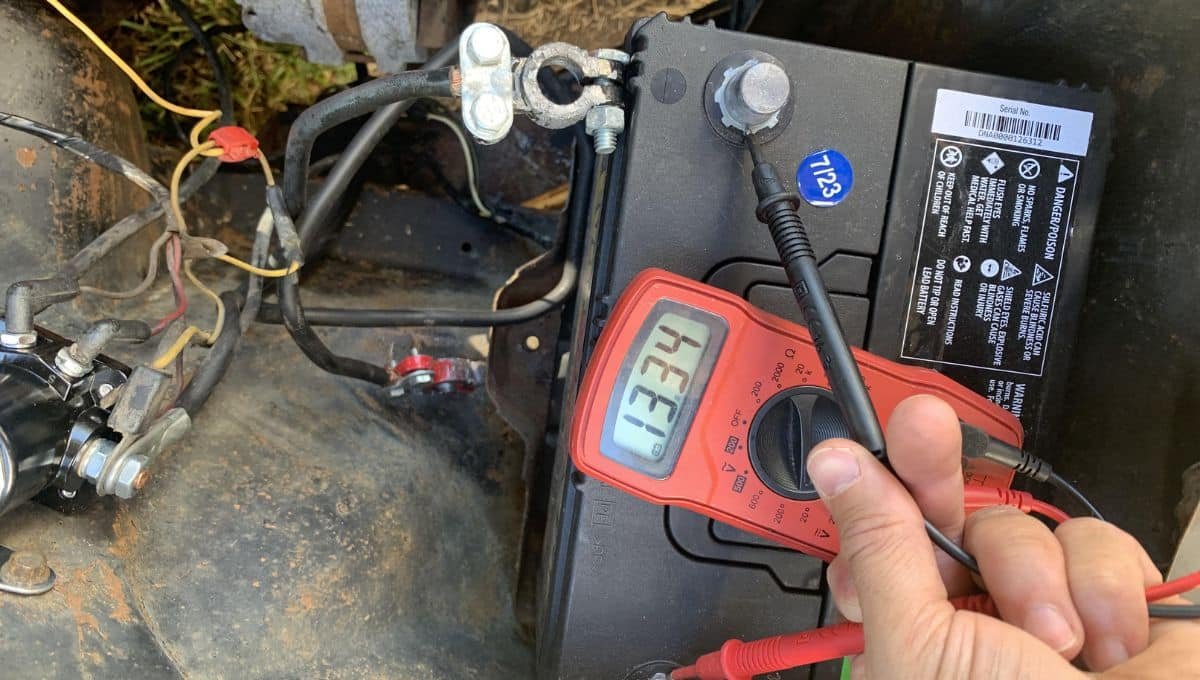
After the jump, it’s essential to test the battery’s health. Use a voltmeter to check the voltage levels, and ensure they’re within the normal range (around 12.6 volts when fully charged). If the battery isn’t holding a charge, it may be time to replace it.
Best Practices for Battery Maintenance:
Regular maintenance is key to avoiding dead batteries in the future. Check the battery terminals for erosion and clean them if fundamental.
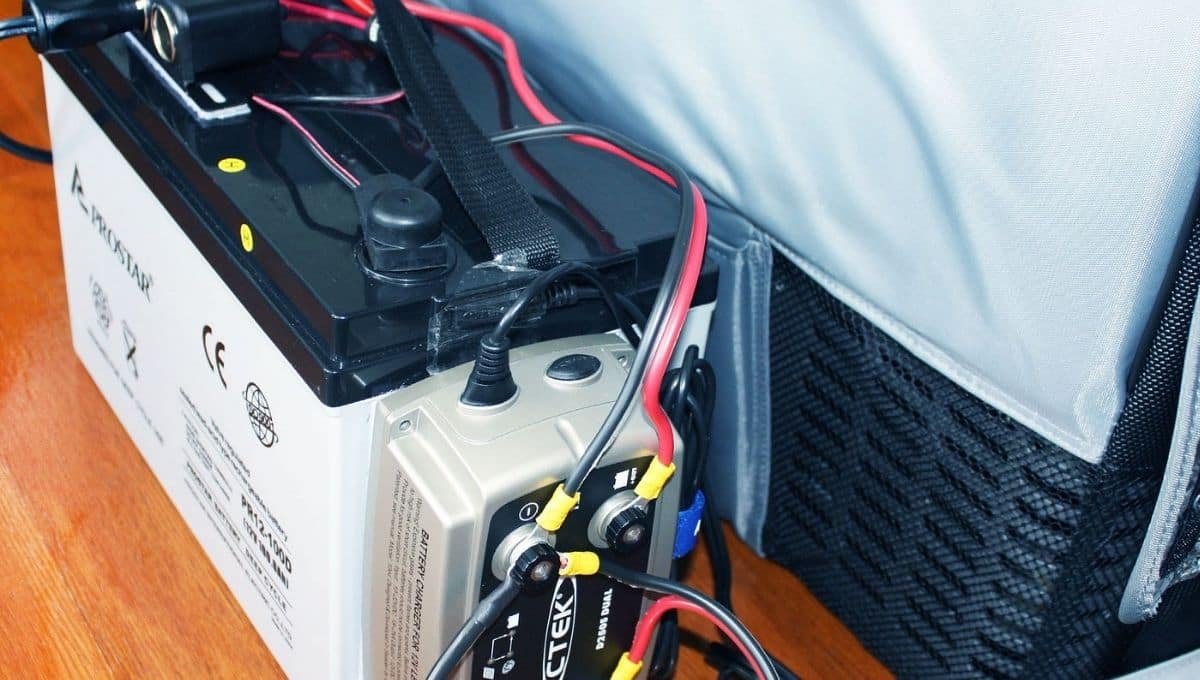
Additionally, avoid leaving your RV’s electrical systems running when parked for extended periods, and consider investing in a trickle charger to keep the battery topped off during storage.
Alternatives to Jumping an RV Battery with Your Car:
If you’d prefer to avoid the complexities of jumping an RV battery with your car, there are alternative solutions.
Using a Dedicated Battery Jump Starter:
A dedicated jump starter is a portable device designed specifically to jump-start vehicle batteries. These units are more reliable and safer than using another vehicle, and they’re small enough to store in your RV for emergencies.
Solar Charging Solutions for RV Batteries:
Solar panels are a sustainable way to keep your RV battery charged. Even on cloudy days, solar panels can provide a steady trickle of charge to your battery, ensuring you always have power when you need it.
When to Call for Professional Assistance:
If you’re unsure about jumping your RV battery or encounter problems during the process, it’s best to call for professional assistance. A qualified technician can safely diagnose and resolve any battery issues without risking damage to your RV or car.
By understanding the key differences between RV and car batteries, following proper safety precautions, and knowing your alternatives, you can confidently handle a dead RV battery.
Whether you choose to jump it with your car or explore other charging options, preparation is the key to avoiding future battery woes.
read also: Can Using Too Many Accessories at Once Drain Your Battery – Shocking Truth!
FAQ’s
1. Can I use my car to jump-start an RV battery?
Yes, you can jump-start an RV battery with your car, but ensure both systems are compatible and follow safety precautions.
2. What are the key differences between RV and car batteries?
RV batteries are deep-cycle, built for sustained energy, while car batteries provide short bursts of power for starting engines.
3. Is it safe to jump an RV battery with a car?
It’s generally safe if done correctly, but improper connections or overloading can damage both vehicles.
4. What tools do I need to jump-start an RV battery with a car?
You’ll need heavy-duty jumper cables, gloves, and possibly safety glasses for protection.
5. What should I do after jump-starting my RV?
Let the RV run for at least 30 minutes and test the battery’s health using a voltmeter to ensure it’s holding a charge
Conclusion:
Properly jumping an RV battery with a car requires understanding battery differences, careful cable connections, and safety precautions. Ensuring voltage compatibility, using correct tools, and following proper disconnection steps can prevent damage. Regular battery maintenance and considering alternatives like a dedicated jump starter or solar charger can help avoid future battery issues.
Read Also:
Can Using Aftermarket Parts Cause Battery Drain – Common Mistakes!
Can a Faulty Car Battery Cause Your GPS Tracker to Malfunction Due to Battery – Drain and Electrical Problems?
Can a Failing Battery Affect Your Car’s Fuel Pump – Shocking Truth!
Can a Battery Issue Cause Your Car to Overheat – Discover the Answer!





Post Comment